No edit summary Tag: rte-source |
No edit summary Tag: rte-source |
||
| Line 57: | Line 57: | ||
===Gran Turismo 6=== |
===Gran Turismo 6=== |
||
| + | *[[Tuned Car Festival]] - 2 laps |
||
| + | *[[Dream Car Championship (GT6)|Dream Car Championship]] - 4 laps |
||
[[Category:GT5 Circuits]] |
[[Category:GT5 Circuits]] |
||
[[Category:GT6 Circuits]] |
[[Category:GT6 Circuits]] |
||
Revision as of 03:29, 6 January 2016
Cape Ring is a fictional circuit from Gran Turismo 5 and Gran Turismo 6. The 4.39 mile circuit comprises part of the Cape Ring complex and incorporates the the full Cape Ring North and Cape Ring South circuits connected at the hairpins at the ends of each circuit. Alternatively, it is made up of the Cape Ring Inside and Cape Ring Outside circuits connected together.
Circuit Layout
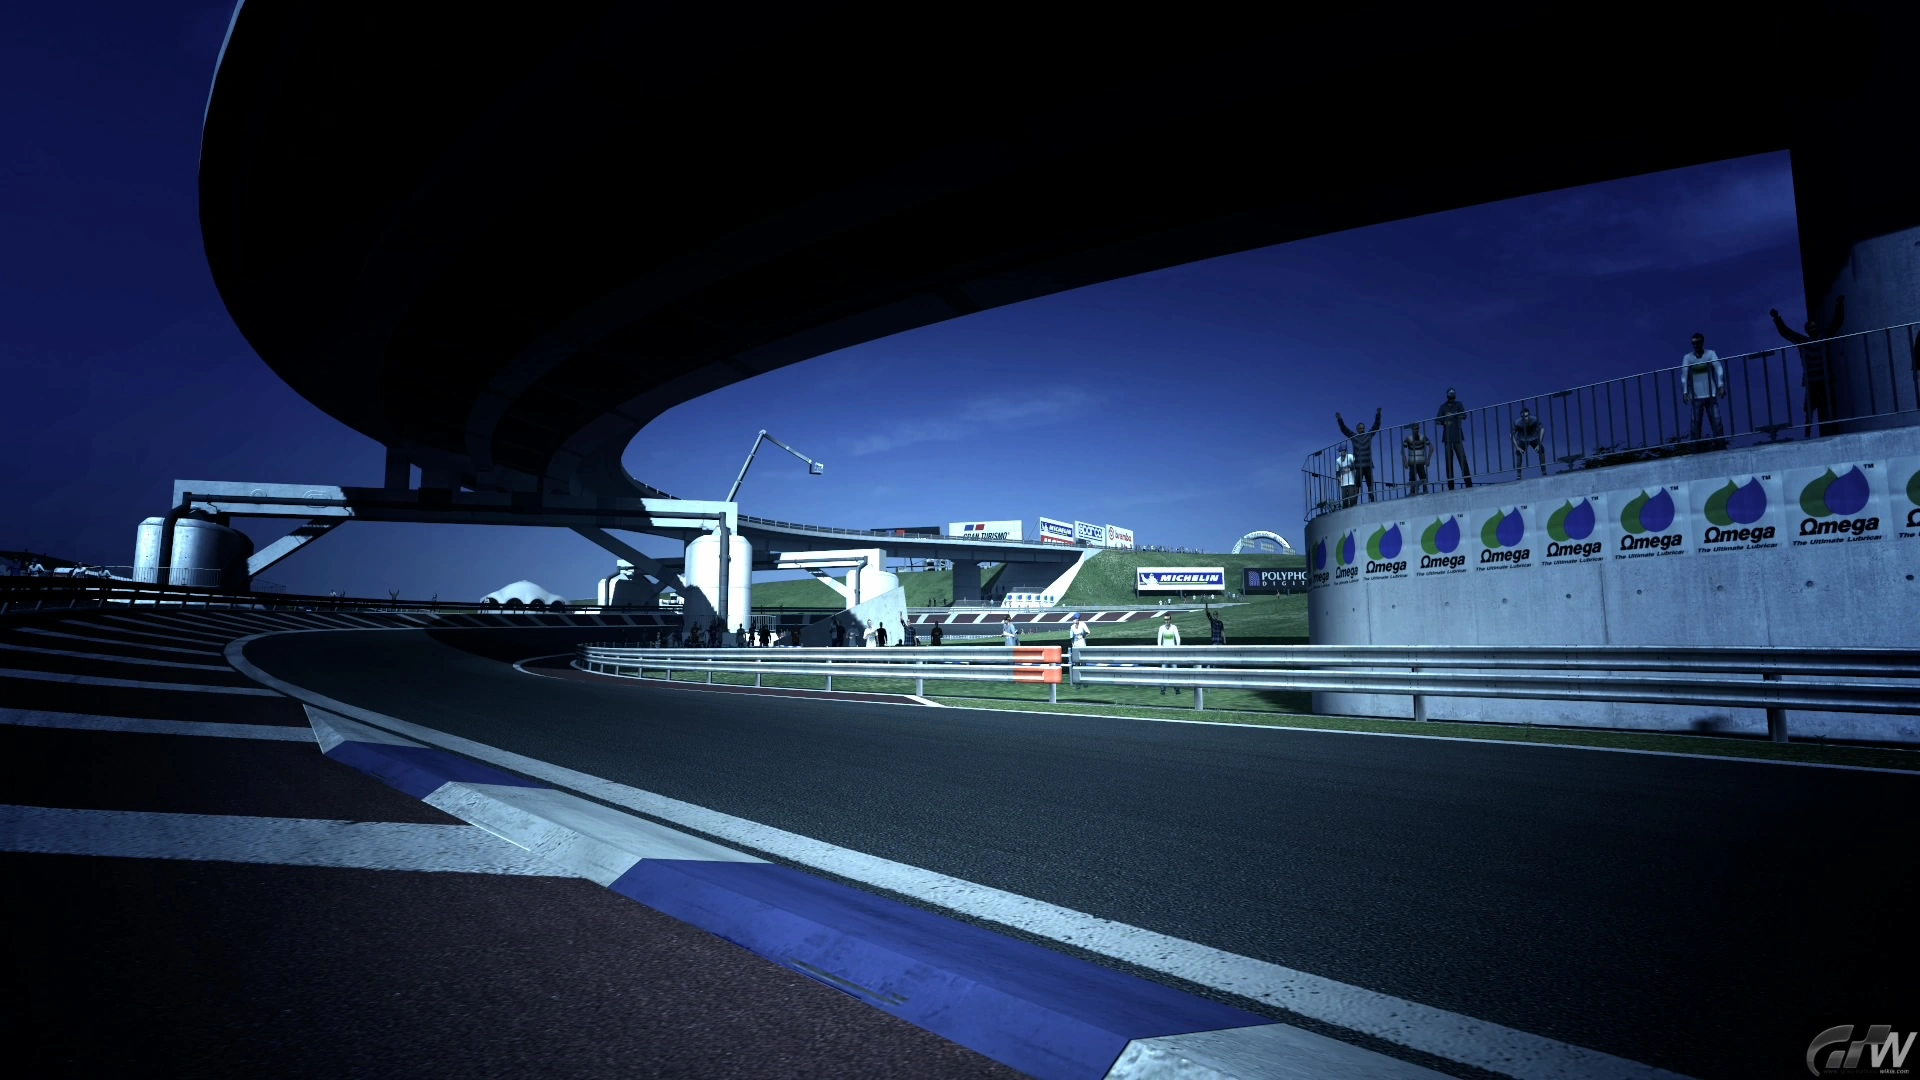
The long Cape Ring circuit combines several long straights, low and medium speed corners and numerous camber and elevation changes. It also features, unique in the Gran Turismo series, a full 360 degree "Spiral bridge" (right) similar to Kawazu-Nanadaru Loop in Japan.
Sector 1
The circuit begins with a long, fast straight leading into a tight, slightly-banked hairpin turn. A good launch is critical here: because of the small radius of the corner, traffic can be very tightly packed around the racing line, so starting the race well can allow the player to overtake four to five cars on the outside, which may in turn lead to a fair bit of clean track before catching up to the car ahead. On the other hand, a poor start can force the driver behind the player to cut to the outside, forcing one to either push the overtaking car to the side or fall in line behind the car ahead. Also, due to the turn's nature, trail braking should be avoided because in many cars the rear end will slip out, potentially resulting in a spin which could possibly end up involving multiple cars. If the rear end begins to feel a bit light on braking, the road is wide enough to simply not turn in until the back of the car is under control again, though the entire corner will be compromised.
From there, the track takes a medium-speed, positively-cambered right-hander with a crest in the middle of it, and this in turn is followed immediately by a downhill left-hander. The positive camber of the right-hand turn combined with its uphill entrance means that it should be easy enough to get the car to bite on turn-in. The crest occurs right at the apex of the turn, providing the driver with two options: sacrifice the exit of the right-hander to be nearer to the apex for the left, or preserve the exit of the right turn to set up for a late entry on the left; really, either one is correct. the only thing the driver needs to watch out for is hitting the crest with the rear end too far out, as doing so can provide a bad setup for the left turn.
After this, the road begins to climb again, starting with a full-throttle right-left series at the bottom of the hill and ending with a tight, difficult left-right chicane at the top. This is one of the briefest, but also the toughest, complex of corners on the circuit. The hill's angle of climb drops off significantly only a few dozen feet before the left turn. Compounding that issue is the fact that the exit of the first turn in the complex is blind, as well as the fact that the road narrows up drastically on its exit. The player should get all of the braking done before entering the left hand turn, and then let the car coast through the center, only applying the gas for the short, uphill sprint to the right turn, which can also be taken full-throttle. The crest of the hill is shortly after its exit, and leads into the first of two nearly identical hairpins on the track. The line here is standard enough: start on the outside of the track, brake hard entering it, touch the curb on the apex, and let the car wash out on the exit. The end of the first sector is just past it.
Sector 2
This is perhaps the least technical sector on the track, but several elements of it can still catch the unwary driver off guard. Its first turn is a sweeping, banked, downhill right-hander which is not very tricky at all. All Le Mans prototypes/Group C cars can take it flat out, as can all Formula One-style cars and both Red Bulls; for these cars, the ideal line is right around the bottom of the turn, whereas many of the faster road cars and GT-style racers will go off the track if this is attempted; for these cars, the line is further towards the outside, so as to set up for the left-right chicane immediately following its exit. Looking at the chicane from its entry or from the track map can lead a driver to think that it can be taken full-throttle, but most cars - excluding F1 cars, slower road cars and the Red Bulls - cannot do this. For most cars, the ideal line is to pull towards the bottom of the track on the exit of the preceding sweeper, which will provide a straight line towards the apex of the left-hand turn at the start of the complex. Once the driver hits the apex, they should start braking immediately, and slightly before the end of the curb switch over to the right-hander, being sure to avoid the curb at its apex. The curb on the left-hand side can then be used as an extra few inches of run-off, making for higher exit speeds.
From there, a small straight leads to a right-hand turn that flows into a left-hander, with both of these going uphill. Because of the placement of the left-hand turn, the right-hander must be entered late so that the player can have an ideal setup for the left-hander. A touch of trail braking is necessary for this to occur. Once at the left-hander, follow the inside curb all the way through it, and pinch off the exit slightly. This will allow the tight right turn at the top of the hill to be entered optimally, and the car should be able to follow the curb through it without any problems. Once again, avoid trail-braking, as the rear end could potentially slip out. After the exit of this turn is a short straight, in the center of which the sector ends.
Sector 3
On the other end of the straight is an oddly-shaped, quadruple-apex right-hand turn. It can be difficult to hit all four apexes, so to start with, enter the turn early (right at the start of the curb on the left side), trail-braking briefly. The early entry and the trail braking should provide the player with an optimal angle-of-attack for the second apex. which should be more-or-less coasted through, with small brake and gas inputs to adjust the car's attitude. It is also a good idea to run over the curb on the apex slightly. Swinging out from this apex will allow the driver to attack the next one in much the same way. After the fourth and final apex, however, is a tight left turn. Riding the curb on the fourth apex and braking right as the car arrives at it will allow the driver to switch over and enter the left turn early. Once again, it is ideal to place the left-side wheels on the other side of the curb; doing so will make then snag on the other side of it, helping to steer the car. Be careful not to take this turn too quickly, as doing so will force the player to run off of the track and join the road on the right side to maintain control of the car.
After this turn comes the second of the two identical hairpins. Once again, Get over to the right side of the track, brake hard entering, hit the throttle at the apex, and let the car swing out. On its exit is a slight, full-throttle right-hand bend, which is followed by a short straight terminated by a tighter, cambered left-hand bend. This one is easy, as long as the player enters relatively early and coasts (or even brakes slightly) through its center.
On the other side of a short, uphill straight is a severe jump. The first time one drives a specific car over it, they should slow down for it, taking note of how far the front end hikes up and adjusting their driving style accordingly. Some cars will nosedive going over it, while others will strike the ground with the rear bumper first; for both of these, the ideal remedy is to slow down going over the jump. Some rare cars will be able to remain more-or-less level while in midair; these will be able to take it flat-out, provided they are facing exactly straight when hitting it. After this is the track's signature element: the loop. The car should be kept in the middle of the road for most of the downhill, 360-degree turn, with a slight angle towards the end to the inside of the track. Simply turn tighter and/or let off the throttle to keep the car in the center of the road. About three quarters of the way through it, the banking, steep at first, will slowly start tapering off; when this happens, the player must gradually begin rolling out of the throttle so as to avoid hitting the wall at the bottom.
Sector 4
This is the shortest of the sectors, and begins at the bottom of the loop. There is an uphill, banked, left-hand bend to start it off, which should be entered fairly early. After turning in, trail-brake up until the center of the turn, and then let the car coast for a few feet before reapplying the throttle on the exit. At this point, the next turn in the track (an uphill, full-throttle left) will be revealed. As soon as the driver sees it, they should angle for its apex. Past this turn, there is a sharp crest which must be taken straight on, as hitting it at any angle other than dead straight will cause extreme oversteer; some cars will even lift the front wheels slightly off the ground here. The car should be in the center of the track for the turn at the bottom: a loose left-hander with positive banking. Most cars should be able to roll through this with only minor braking, as long as the turn is entered early. After this, a small left-hand turn leads to the final 90-degree right-hander. Coast through the left-hand turn, and enter the final turn late and with heavy braking. Once at the apex, begin rolling into the throttle, and let the car swing out for the long start-finish straight.
Inspiration and location
The circuit is apparently based off the tight, twisty public roads used in touge events. This type of road is well known among automotive enthusiasts in Japan, and is usually staged illegally at night. The sport was brought to the international limelight via the popular manga series Initial D as well as game series like Tokyo Extreme Racer and Kaido Battle.
If one pays attention to the background, one will spot a mountain that looks rather like Mount Fuji, which indicates that it may be located near Fuji Speedway. There is a possibility that the circuit is located in the southeastern part of the region, because of the fact that if one looks over the edge of the mountain, a city similar to Izu can be seen. The presence of a sea off the right-hand side of the track when approaching the jump into the spiral further reinforces this.
The most famous corner of Cape Ring - the spiral - is also inspired by Japanese roads. The spiral bears a strong resemblance to the Kawazu-Nanadaru Loop Bridge, located in Kawazu region, Shizuoka prefecture.
Cape Ring in Gran Turismo
Gran Turismo 5
Events
- Gran Turismo World Championship - 5 Laps
- Gran Turismo All Stars - 5 Laps
- Schwarzwald League B - 5 Laps
- German Touring Car Championship - 5 Laps
License Tests
- iA-8 (Spiral Bridge)
Gran Turismo 6
- Tuned Car Festival - 2 laps
- Dream Car Championship - 4 laps